Nvidia Nim x AutoRAG
Setting Up the Environment
Installation
First, you need to have AutoRAG.
Install AutoRAG:
pip install autorag
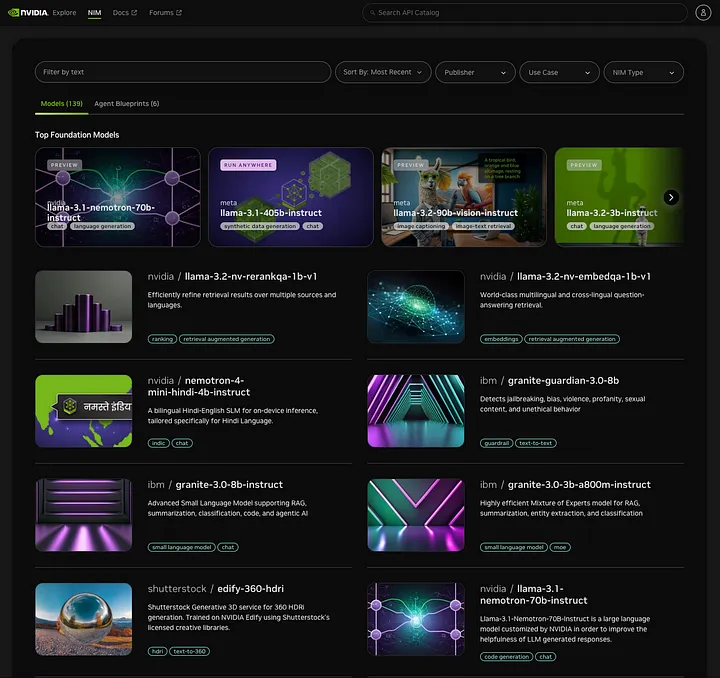
And go to the NVIDIA NIM website, register, and select what models that you want use.

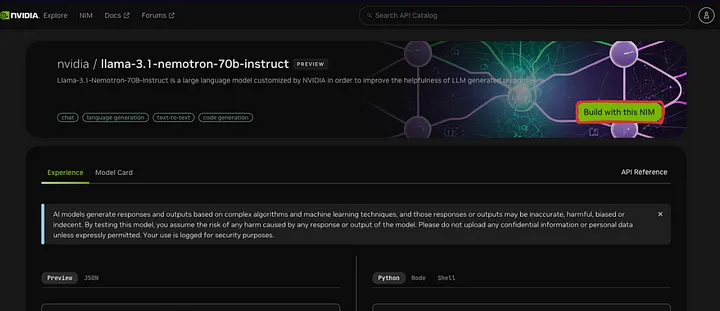
After select the right model, click “Build with this NIM” Button. And copy your api key!

Using NVIDIA NIM with AutoRAG
For using NVIDIA NIM, you can use Llama Index LLm’s openailike at the AutoRAG config YAML file without any further configuration.
It is EASY!
Writing the Config YAML File
Here’s the modified YAML configuration using NVIDIA NIM:
nodes:
  - node_line_name: node_line_1
    nodes:
      - node_type: generator
        modules:
          - module_type: llama_index_llm
            llm: openailike
            model: nvidia/llama-3.1-nemotron-70b-instruct
            api_base: https://integrate.api.nvidia.com/v1
            api_key: your_api_key
For full YAML files, please see the sample_config folder in the AutoRAG repo at here.
Running AutoRAG
Before running AutoRAG, make sure you have your QA dataset and corpus dataset ready. If you want to know how to make it, visit here.
Run AutoRAG with the following command:
autorag evaluate \
 - qa_data_path ./path/to/qa.parquet \
 - corpus_data_path ./path/to/corpus.parquet \
 - project_dir ./path/to/project_dir \
 - config ./path/to/nim_config.yaml
AutoRAG will automatically experiment and optimize RAG.